I Fixed This Photo in Lightroom Using THIS Tool
リアクション
2026年03月31日
🔗 Would you like some coaching one-on-one with me? Let's talk here: https://www.photo-serge.com/apply-now-yt?utm_source=youtube&utm_medium=organic
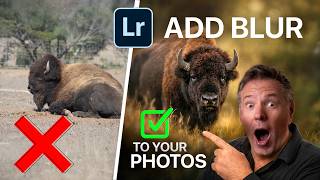
Want to make your photos look more professional in seconds? In this tutorial, I’ll show you how to use the Lens Blur tool in Lightroom to instantly separate your subject from the background and create a stunning, cinematic look.
In this real example, we take a flat wildlife photo with distracting elements and turn it into a powerful image using background blur, dodging & burning, and smart light control. This is one of the most underrated Lightroom tools :
If you’ve ever struggled with busy backgrounds, lack of depth, or photos that don’t “pop”, this technique will completely change the way you edit.
📸 What you’ll learn:
How to use the Lens Blur tool in Lightroom
How to fake shallow depth of field (like f/2.8)
How to isolate your subject and remove distractions
How to guide the viewer’s eye using light
How to combine blur with dodge & burn for dramatic results
⏱️ CHAPTERS
00:00 The problem with this photo
00:30 Basic Lightroom adjustments
01:20 How Lens Blur works
02:00 Creating depth & background blur
03:10 Before / After comparison
04:00 Shaping light with gradients
05:00 Dodge & burn technique
06:30 Final image transformation
🔥 Why this matters
A great photo isn’t just about what you capture — it’s about what you emphasize.
By controlling sharpness, light, and contrast, you can turn an average photo into a professional one.
🎁Download the FREE preset toolbox below.
https://bit.ly/AIPresets
lightroom tutorial, lightroom lens blur, blur background lightroom, depth of field lightroom, lightroom editing tutorial, dodge and burn lightroom, photo editing tips, wildlife photography editing, how to blur background, lightroom masking tutorial